Mail or Jail Shift 1 to 7 Full Walkthrough
Every shift from first truck unload to final evaluation, with pacing notes for ID checks, thieves, and random events.
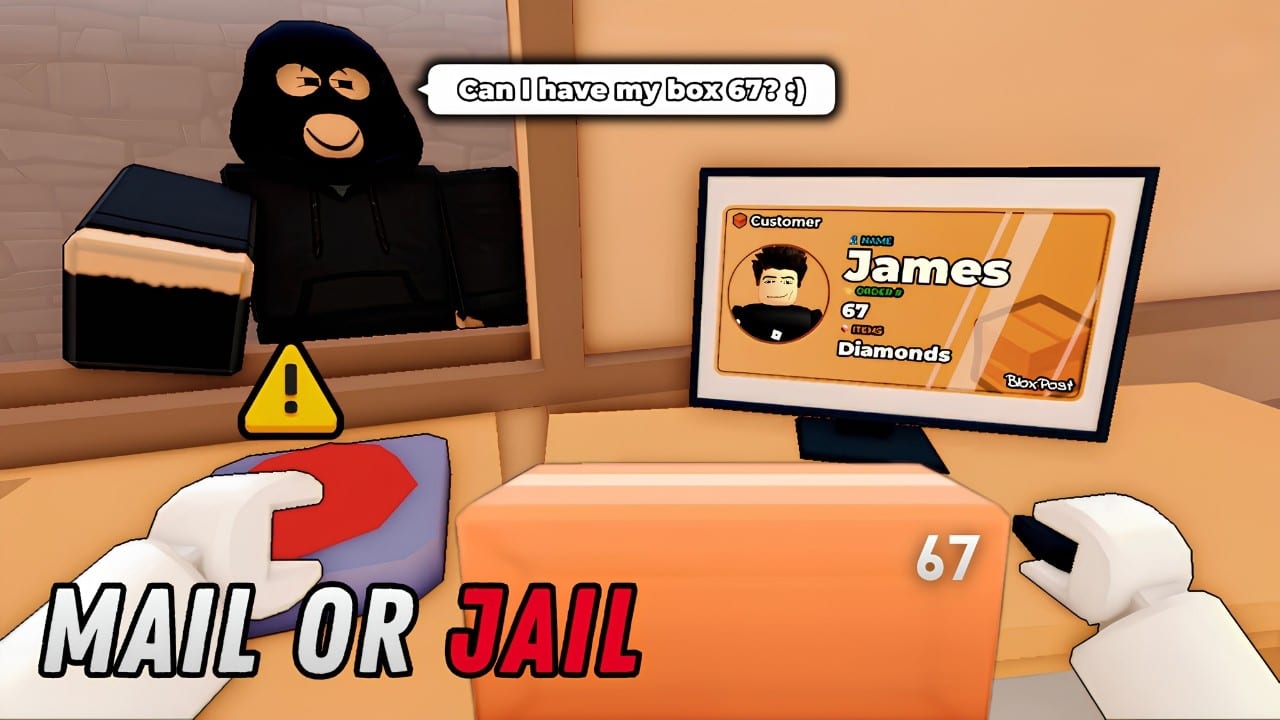
This Mail or Jail full walkthrough covers Shift 1 through Shift 7 in campaign order—the complete Roblox postal run Delivery Day Studios built around unloading trucks, verifying customer IDs, delivering mail, jailing package thieves, and surviving random events without getting FIRED. Use it as your primary route map after you understand controls on your platform and skim Shift 1 tips for beginner habits.
The embedded video walks the entire campaign visually, including ending outcomes when you clear or fail the job review. Keep the events catalog open because hazard timing often decides mid-shift success more than raw movement speed.
Campaign overview
Mail or Jail is structured as seven discrete work shifts, not an open-world sandbox. Each shift repeats the core postal loop with rising pressure:
- Morning truck unload at the depot.
- ID verification before releasing parcels to customers.
- Route delivery to marked houses.
- Thief interception and jail sends.
- Random event survival layered on top.
- Shift evaluation—advance or face the fired outcome on endings.
Mistakes accumulate across activities. Wrong approvals, missed thieves, bad deliveries, and event failures share the same job-security budget.
Shift 1 — Tutorial pressure
Shift 1 introduces truck handling, your first legitimate ID matches, and usually a controlled thief teach moment. Move slowly:
- Unload every visible parcel before leaving the cargo bay.
- Run the three-point ID check: portrait, name, address.
- Deliver to the highlighted house in order when the game enforces sequence.
- Practice arrest timing on the tutorial thief without panicking.
Shift 1 forgives more errors than later days, but autopilot here creates bad habits that explode on Shift 4. Use the ID checklist every handoff.
Shift 2 — Route expansion
Shift 2 adds houses and shortens breathing room between deliveries. You should:
- Pre-sort mentally by street while walking.
- Reject IDs with subtle mismatches—expired photos, swapped names, wrong apartment numbers.
- Watch for thieves appearing mid-route, not only at the depot.
First random events often appear here. Do not ignore event objectives to save ten seconds on a delivery unless you understand the tradeoff from survival tips.
Shift 3 — Verification spikes
Shift 3 increases disguised customers. Thieves mimic legitimate residents with partial data matches. Compare all three fields every time, even when the NPC repeats dialogue rushing you.
Desktop players benefit from desktop controls for fast panel navigation; mobile players should stop moving before tapping approve. Track mistakes with the mistake tracker starting this shift.
Shift 4 — Mid-campaign wall
Many players first get fired on Shift 4. Routes lengthen, events overlap deliveries, and thief spawn timing punishes slow verification. Strategy shifts:
- Finish truck unload perfectly to avoid starting behind mistake budget.
- Prioritize arrest on active thieves over optional shortcuts.
- When events fire, read the objective once, then pick a path that preserves remaining deliveries.
If you fail repeatedly, replay Shift 2–3 mentally instead of mashing Shift 4 attempts tired.
Shift 5 — Density and pace
Shift 5 assumes you can verify under time stress. Houses cluster tighter; running in circles costs more than earlier shifts. Sprint only for thieves and urgent event timers.
Cross-read mobile and console controls if you switched devices—muscle memory differences cause surprise mistakes here.
Shift 6 — High mistake cost
Shift 6 offers little margin. One bad approval plus one missed thief can end the run. Treat every NPC as guilty until ID data matches perfectly.
Group bonus from Delivery Day Studios (Roblox group 372114481) and any active codes help QoL but do not replace verification discipline. Events at this stage often force detours—plan return paths before committing.
Shift 7 — Final evaluation
Shift 7 combines maximum route density, aggressive thief behavior, and frequent events. This is the cinematic finish the official description teases: survive all seven shifts or get fired trying.
- Start the shift with full focus; no phone notifications.
- Keep one mistake in reserve mentally—even if the UI does not show exact numbers, play as if the next error fires you.
- Finish deliveries in stable order unless an event explicitly rewards reordering.
Clearing Shift 7 triggers success outcomes detailed on endings. Failing triggers the fired ending and a restart.
Walkthrough video usage
The Shift 1–7 video on this page shows real player routing and ending branches. Pause between shifts to practice verification on your own account rather than watching straight through. Combine video with wiki text because updates can tweak spawn timing.
Between-shift checklist
After each shift in your own runs:
- Log mistake types (ID, delivery, thief, event).
- Re-read relevant controls if a input error caused the loss.
- Study the next shift section above before queuing again.
- Browse Guides for community strategies beyond this walkthrough.
- Read the review if you debate whether late-shift difficulty feels fair.
Related pages
- Shifts hub — Section index and difficulty overview
- Shift 1 tips — Focused first-shift tutorial
- Endings — Fired versus full clear outcomes
- Random events — Hazard reference for mid-to-late shifts
- Tools — Checklist and mistake tracker for practice
Seven shifts is a compact campaign with a steep skill curve. This walkthrough gives you order, priorities, and pressure points—execution still depends on calm ID checks and clean control habits under stress.
Frequently Asked Questions
Quick answers players ask after every shift.
How long does a full seven-shift run take?
Most players need forty to ninety minutes depending on mistakes and event RNG. The embedded walkthrough video shows a continuous clear for pacing reference.
Which shift should I replay for practice?
Shift 2–3 build verification habits; Shift 4 is the best stress test before attempting 5–7.
Does the walkthrough cover endings?
Yes. Pair the video with our [endings](/shifts/endings/) page for fired versus success outcomes.
What if I keep failing the same shift?
Audit mistake type, reread [event survival tips](/events/survival-tips/), and confirm [controls](/controls/) for your device before grinding.