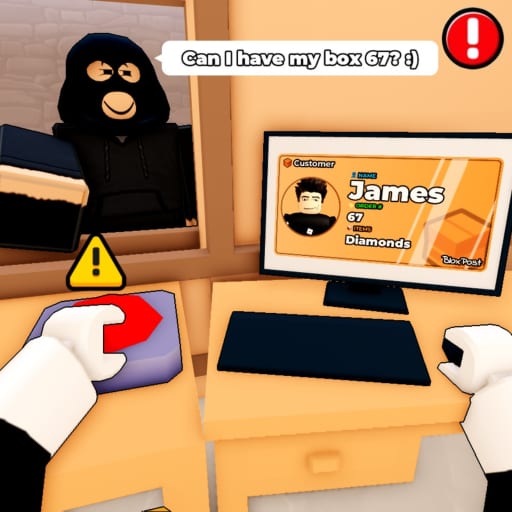
Mail or Jail ID Verification Checklist
Ten checks before you hand over any package
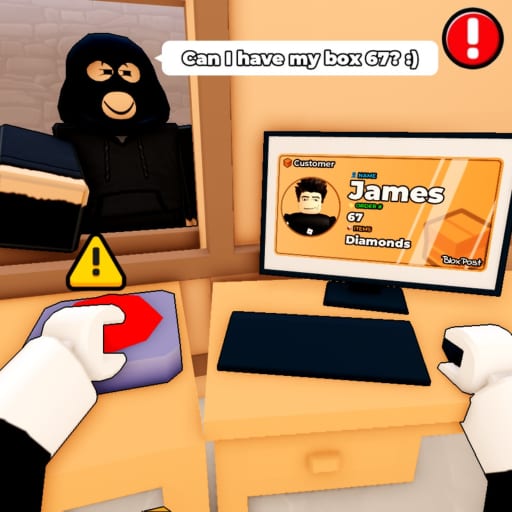
Identity verification is the spine of Mail or Jail by Delivery Day Studios. Every shift asks you to confirm that the person at the counter is legally allowed to receive the parcel you are holding. Skip a step and the game treats it the same as handing mail to a thief: another mistake on your record, another step toward being fired. This page gives you a repeatable checklist you can run in under thirty seconds once it becomes muscle memory, plus the reasoning behind each line so you know what you are looking for when IDs look almost right.
The interactive panel below mirrors what veteran players scan before clicking deliver. Tick each box in order. If any item fails, stop and resolve the mismatch or call for a supervisor action in-game before you release the package. Return to the tools hub for the companion shift tracker once you want to log how many verification slips cost you a run.
Interactive ID checklist
Use this panel at the counter every time a customer steps up. Reset mentally between customers even if you cannot reset the HTML checkboxes mid-shift.
Why each check matters
Name on ID matches the package label exactly. Mail or Jail frequently uses near-matches to test attention. A label reading “J. Smith” against an ID “John Smith” may be valid in real life, but the game often flags subtle mismatches as wrong deliveries. Compare letter by letter before you confirm.
Photo on ID matches the customer’s face. Thief encounters sometimes pair a stolen ID with the wrong actor model. Look for hair color, skin tone, and outfit collisions. On mobile, zoom your camera angle instead of trusting a tiny thumbnail.
Street address on ID matches the delivery slip. Misaligned addresses cause silent failures when multiple units share a lobby. Verify apartment numbers and suffixes like “A” versus “B”.
ID looks current — not expired or visibly altered. Expired cards appear in later shifts to punish autopilot. Scratches, missing holograms, or smeared text are intentional red flags. When in doubt, treat the ID as invalid and follow in-game rejection prompts.
Recipient spelling matches — watch nicknames and middle initials. Second-shift difficulty spikes when the manifest includes legal names but customers introduce themselves casually. If the game offers a compare UI, use it instead of guessing.
Restricted-mail rules satisfied for age or signature items. Some parcels require adults or extra confirmation. Delivering restricted items to the wrong profile counts double in many player reports. Read the parcel icon color and any popup warning before completing.
Package size and weight match the manifest entry. Random events can swap similar boxes. A large parcel label on a small prop signals a warehouse mispick event. Fixing it at the counter beats chasing a thief with the wrong item later.
Tracking or barcode on parcel matches the queue ticket. When multiple customers queue, it is easy to grab the next box while still reading the previous ID. Match ticket numbers before you lift a new package off the cart.
Customer is not behaving like a known thief decoy. Thieves may distract you with loud emotes or fake urgency while an accomplice grabs mail. Pause verification when someone rushes you; legitimate NPCs usually wait patiently.
Random event modifiers noted before you rush the handoff. Events can fog IDs, flip lighting, or add duplicate customers. Glance at the shift banner before you speed through the checklist. The updates page summarizes patch days such as August 2, 2026 when event tables changed.
Platform tips
On desktop, keep the checklist on a second monitor or alt-tab browser window. On mobile and tablet, split-screen the wiki and Roblox if your device allows. Console players can run the list from a phone browser beside the TV. Controls differ, but the verification order should not.
Pair this page with the Mail or Jail review video walkthrough to see ID UI timing in real footage. If you are researching automation, read the scripts page — there is no substitute for learning legitimate verification, and risky executables will not teach these steps safely.
When to reject a delivery
Reject when any single checkbox fails and the game offers a deny action. Attempting to force a marginal match saves seconds but costs a mistake toward firing. In seven-shift marathon attempts, one saved rejection is cheaper than restarting from shift one.
If two customers dispute the same package, re-run the entire checklist from the top with the second ID. Do not carry over checked mental states from the previous person. Co-op friends should designate one reader and one clicker to avoid talking over the same line.
Practice routine
Run shifts one through three with the checklist visible every time. Hide it on shift four only if your mistake rate stays at zero for two full shifts. Bring it back immediately after any patch or when random events rotate. Log slips on the shift tracker so you know whether errors come from IDs, thieves, or events.
Mastering verification is the cheapest skill upgrade in Mail or Jail. No Robux purchase replaces reading carefully. Use the panel above until the ten steps feel boring — that is when they have done their job.
Frequently Asked Questions
Quick answers players ask after every shift.
How many ID checks should I complete per customer?
All ten every time. Partial checks miss the exact failure type Mail or Jail uses in later shifts.
Does the checklist save progress between shifts?
The HTML panel is session-only on this wiki. Reset mentally each customer; use the [shift tracker](/tools/shift-tracker/) for mistake totals.
What if the name is close but not identical?
Treat near-matches as failures until the in-game compare UI confirms a match. Guessing causes firings.
Where do I report checklist changes after updates?
Watch the [updates hub](/updates/) and official [Roblox links](/links/) for Delivery Day Studios patch notes.